
DockerHub is a great development tool for sharing prebuilt software. Using dockerhub you can quickly setup a local EEG processing pipeline.
This is great if you want to keep your EEG data private or want lower latency so you can push higher sample rates.
This tutorial will walk through using Dockerhub to process EEG Data
tl:dr
- Install Dockerhub
- Start Docker images
- Open firewall
0. Prepare Information
The following information will be required:
- IP address of computer
- EEG Dev Kit Device ID
Using a windows command prompt run:
ipconfig
Dev Kit information can be found here: http://eeg.ai/#/eegDetails

Check that the IP address of the device is in the sam esubnet as the IP address of the computer running docker.
1. Install Dockerhub
It’s quick an easy to install Dockerhub – https://hub.docker.com/
Follow the installation instructions and guide provided by Docker.
2.1 Start Docker MQTT
From a command prompt run this:
docker run -p 61616:61616 -p 8161:8161 -p 5672:5672 -p 61613:61613 -p 1883:1883 -p 61614:61614 rmohr/activemq
This will pull and start an ActiveMQ image. Check it is running with a browser as follows:
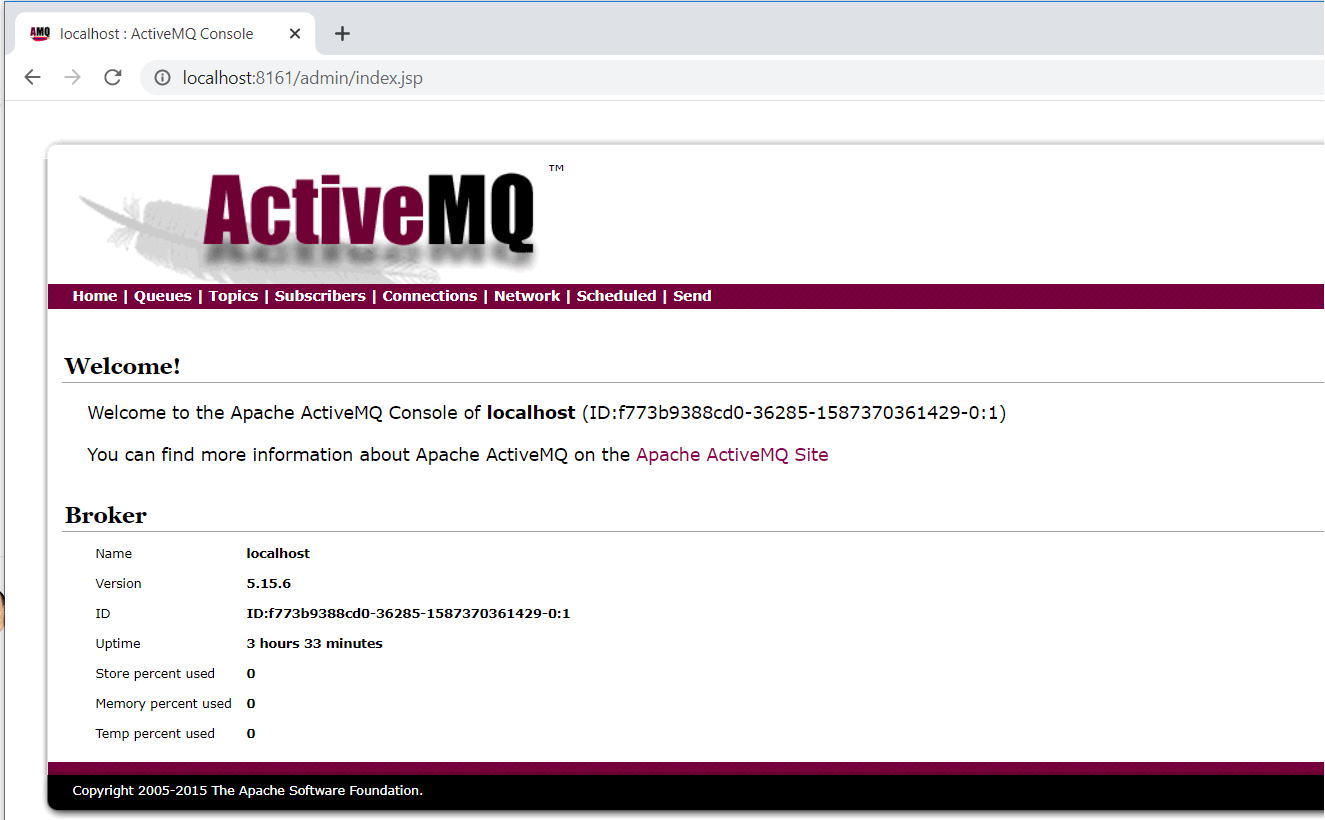
http://localhost:8161/admin/index.jsp
(admin / admin)
2.2 Start Docker Filtering
Using the information from step 0.
docker run –rm -d -e “DEVID=” -e “BROKERIP=” rpampapathi/focus-afeproc:0.10
e.g.
docker run –rm -d -e “DEVID=300360343003600300360051” -e “BROKERIP=192.168.8.221” rpampapathi/focus-afeproc:0.10
3. Open firewall
The EEG Dev Kit will connect to your ActiveMQ server over your wi-fi connection. It is important that both devices are on the same network for this to work.
Then open firewall for any ports that are used in conf/activemq.xml e.g. 1883
Quickest way is just to turn off windows firewall

Check that you can connect to your ActiveMQ using an MQTT client such as mqtt.fx
Another quick check is to use telnet from another machine on the same network

4. Confirm and Test
The final step is to update the EEG Dev Kit with the new MQTT IP address. Using the IP address from step 0 enter it here:
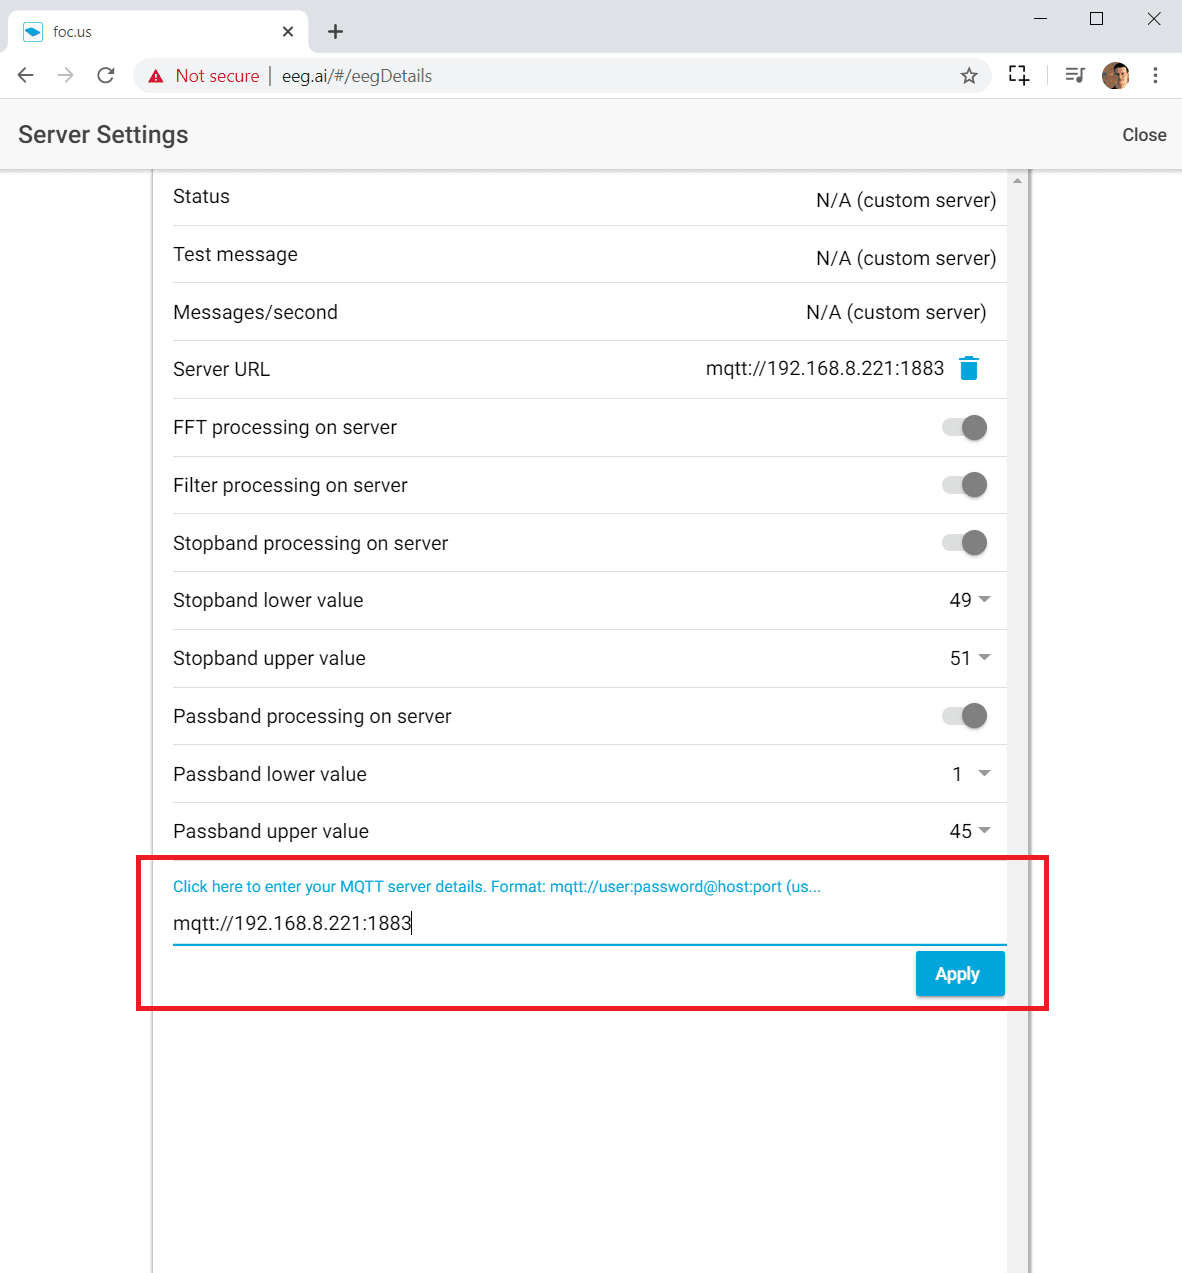
Now you can turn on EEG Data from the Raw Data page