Help Categories
This guide will walk you though the installation of foc.us+ connect on windows 7.
Step 0. Download foc.us+ connect software here
Step 1. Double click the downloaded exe file and click “Run”

Step 2. Click “Next”

Step 3. Select “I accept the agreement” and then click Next

Step 4. Read the information and click “Next”

Step 5. Select a destination installation directory (or use default) and click “Next”

Step 6. Enter a new name of use the default and click “Next”

Step 7. If you have not installed the dock drivers ensure the checkbox is selected and click “Next”
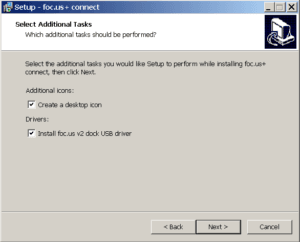
Step 8. Confirm all selections by clicking “Install”

Step 9. The foc.us+ connect software will now install

Step 10. If you selected to install the dock drivers, these will now be installed, click “Next” to proceed

Step 11. Click “Install”
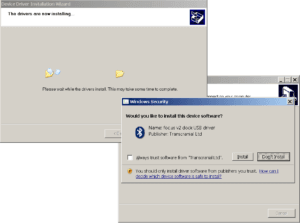
Step 12. The dock drivers will be installed, please be patient as this step can be slow
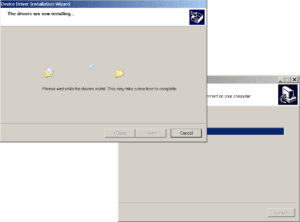
Step 13. if the dock drivers are install successfully you will see this message. Click “Finish” to proceed

Step 14. The foc.us+ connect software is now installed. Please read the notes and then click “Next”
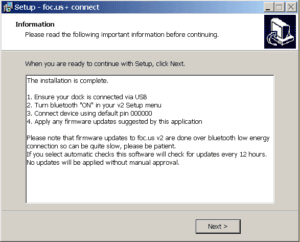
Step 15. The installation is now complete. Click “Finish” to launch

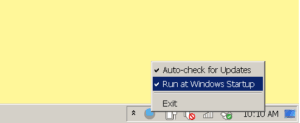
Step 16. Clicking the foc.us dock icon in the system tray will open the foc.us+ connect app.

The software will check for updates to itself, your dock, and the foc.us v2 every 12 hours. You can disable this by right clicking the icon and unchecking the “Auto-check for updates” menu.
- Last updated: by:
- Mike
- November 13, 2019
- 8:56 am